RECIPE: CRUNCHY ANZAC BISCUITS
When it comes to biscuits and cookies, most people gravitate towards one of two distinct camps: team chewy or team crunchy/crispy. As for me? The answer to that question usually lies in the type of biscuit/cookie or what my taste buds happen to be craving. But there are of course exceptions, with one being Anzac biscuits. I like them crunchy. I like them chewy. I also like the middle ground: a crispy exterior that gives way to a chewy bite. There are no shortages of recipe tweaks when it comes to the traditional Anzac biscuit, resulting in this spectrum of crunchy to chewy. For this year’s Anzac Day, a friend and I decided to turn our video catch up into a virtual iso baking date and whip up a batch of Anzac bikkies. Some improvisation on the ingredient front was required on both ends given the rarity of ingredients X, Y, Z as of late. I will say, I was in the mood for a chewy Anzac biscuit and that I did not get. The polar opposite in fact. So if you’re team crispy, crunchy Anzac biscuit, then this is most definitely the recipe for you.
CRUNCHY ANZAC BISCUITS
INGREDIENTS
125g unsalted butter, cut into cubes
2 tablespoons honey (substitute for golden syrup)
2 tablespoons water
1 cup plain flour, sifted
1 teaspoon bicarb soda
1 1/4 cup traditional rolled oats (quick/instant oats will result in a bigger, flatter cookie that spreads out during baking)
1 1/4 cup desiccated coconut
2/3 cup brown sugar
METHODS
Preheat the oven to 170C fan forced. Line a baking tray with baking paper.
In a saucepan over medium heat, stir the butter, honey and water until melted and combined. Remove from heat and allow to cool slightly.
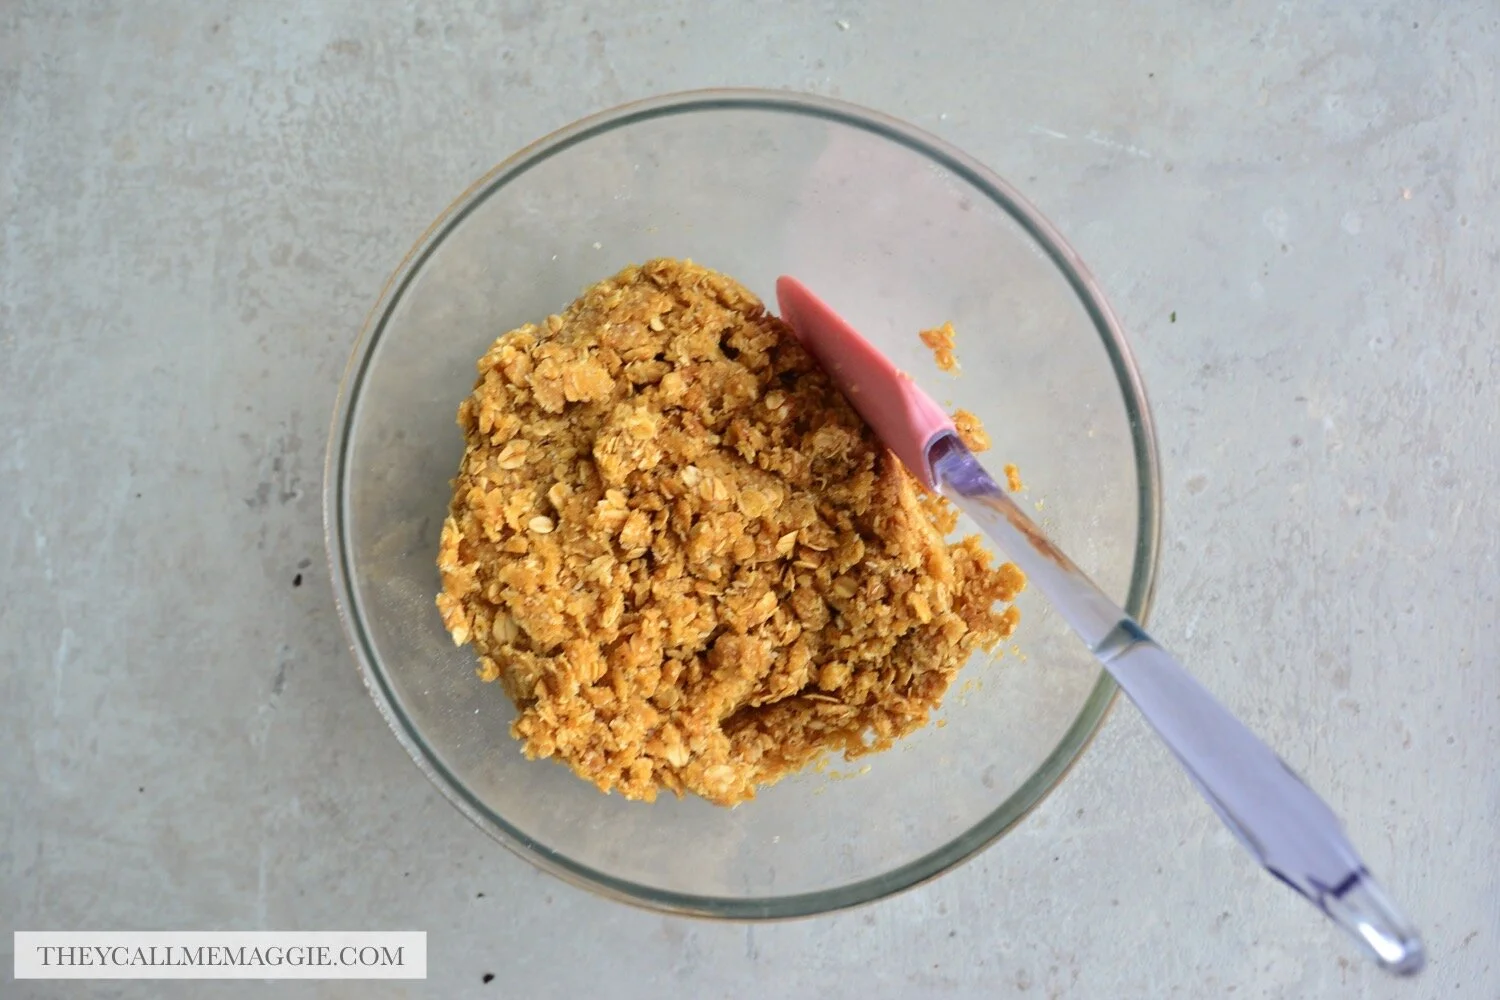
In a large bowl, first mix the dry ingredients before stirring through the butter mixture until everything is combined.
Using your hands, firmly roll a tablespoon of biscuit mixture into a ball before pressing down to flatten. My mixture was slightly crumbly when I did this step, so some further hand manoeuvring was required to form an intact biscuit. These held their shape a-ok post-bake. Allow a few centimetres between each biscuit but my mixture did not spread much further.
Bake for 8-10 minutes or until golden in colour. The upper end of baking time will produce a crispier biscuit, but mine were crunchy at 8 minutes.
Remove from the oven and allow the biscuits to cool on the tray for at least 5 minutes. The biscuits will harden as they cool.
Enjoy!